
The festive period is well and truly upon us now, and that can only mean one thing: it’s time for some Christmas craft!
If you’re looking for new decorations with a homemade twist, take a look at these decorative little trees from Rust-Oleum.
They’re so easy to make, we wouldn’t be surprised if a few turned up in the “Friend” office shortly!
Photograph courtesy of Rust-Oleum.
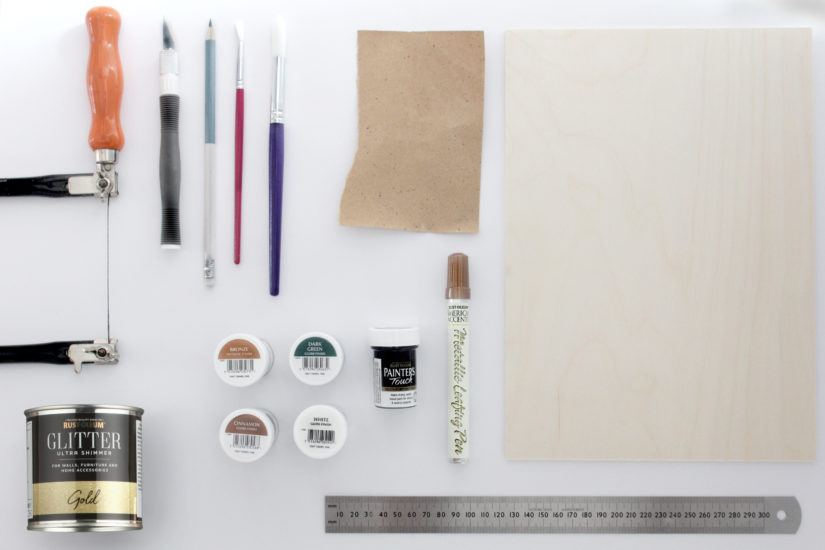
What you will need:
- 20ml Rust-Oleum Painter’s Touch
- Rust-Oleum Glitter Ultra Shimmer
- Rust-Oleum Metallic Leafing Pen
- Balsa wood or thin plywood (these use 3mm A4 sheets)
- A craft knife or fine saw
- Fine grit sand paper
- A ruler
- A pencil
- Paint brushes
How to make the trees:
Step 1
Photograph courtesy of Rust-Oleum.
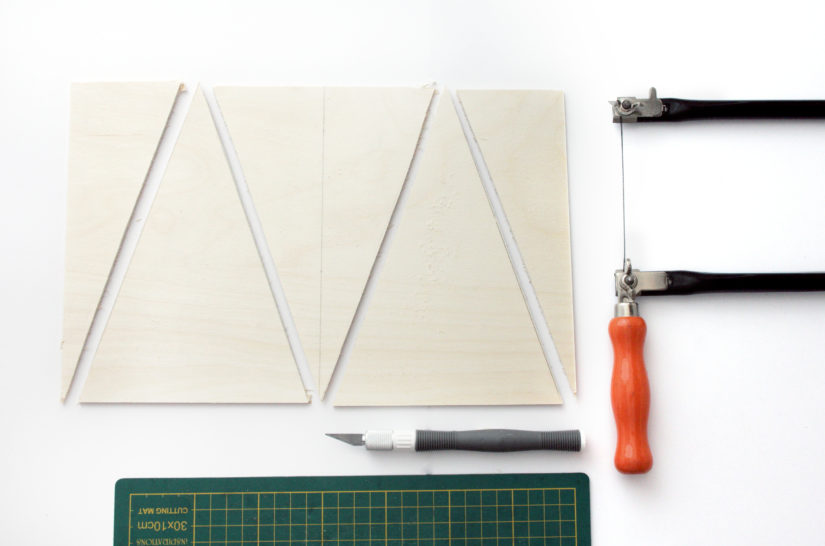
On your sheet of wood, draw two triangles, ensuring they are the same size.
Saw or cut the triangles our of the wood.
Make as many shapes as you want! You could make narrow ones, tall ones, wide ones. It’s up to you!
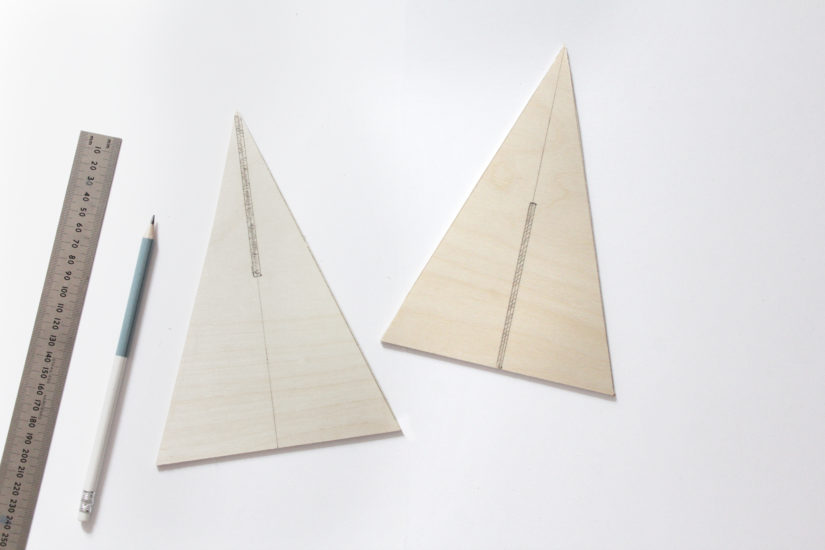
Image courtesy of Rust-Oleum.
Step 2
You now need to make the slots to put the tree together.
Draw a line down the middle of your triangle and make a mark right in the centre of this line.
Saw or cut out the slots and sand all edges smooth.
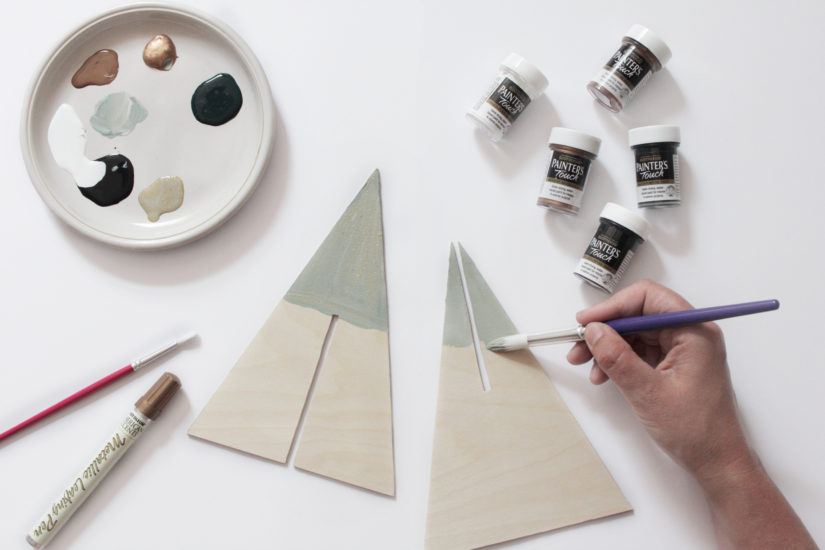
Image courtesy of Rust-Oleum.
Step 3
Decorate your trees with Rust-Oleum paints!
You can paint the trees before or after you slot them together.
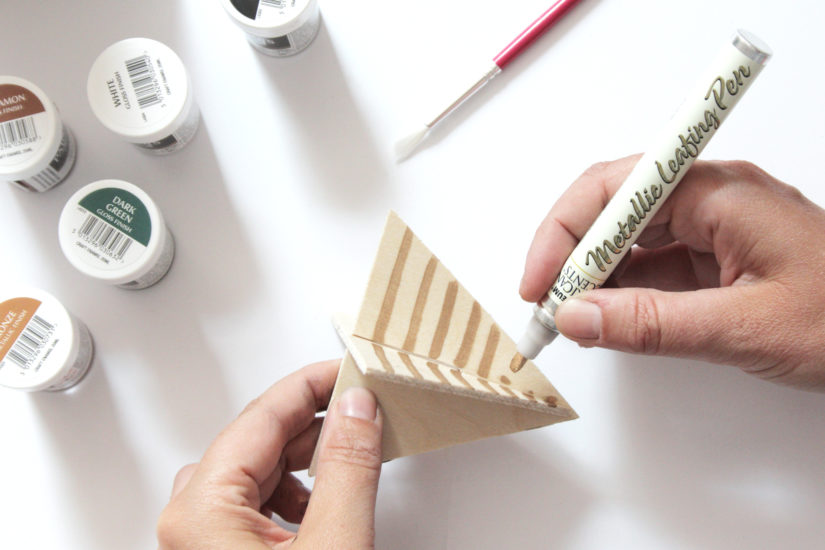
Image courtesy of Rust-Oleum.
Once complete, place your trees on the sideboard or fireplace mantel and marvel at your hand-made Christmas creation.
You may also like:

