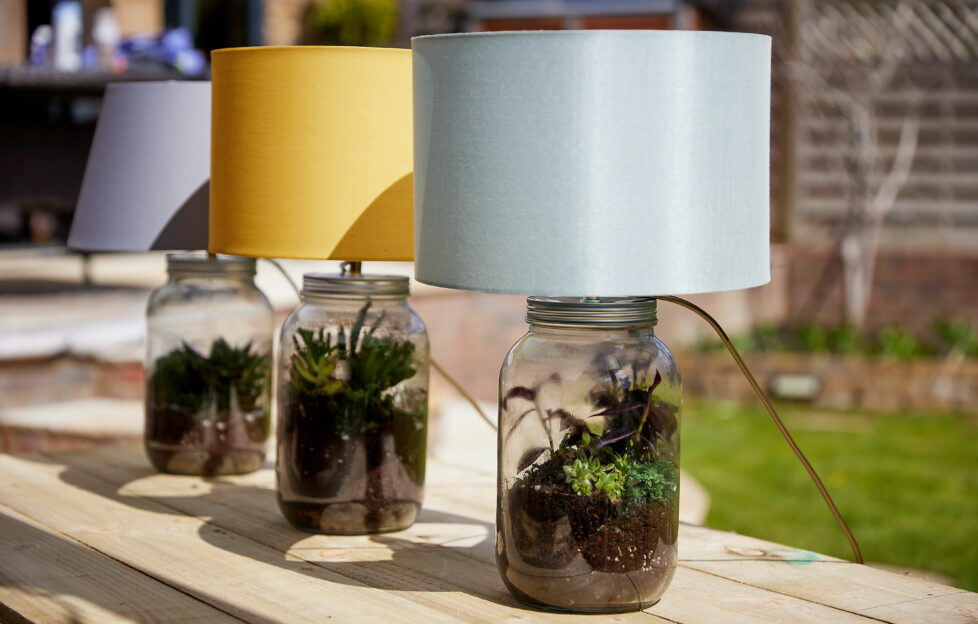
If you’ve always wanted to upcycle your old mason jars into something lovely and decorative, our friends at Jeyes Fluid have a suggestion!
As part of their Creative Spaces initiative, they’ve come up with these simple instructions for turning old jars into lovely terrarium lamps.
Why not have a go yourself?
Materials and tools
- Bucket
- Jeyes Fluid
- Sponge, cloth or stiff brush
- 1 gallon mason jar
- Terrarium kit
- Terrarium plants
- Garden gloves
- Drill
- Lamp wiring kit for glass jar
- Lampshade in a colour of your choice
Method
Creating the lamp base
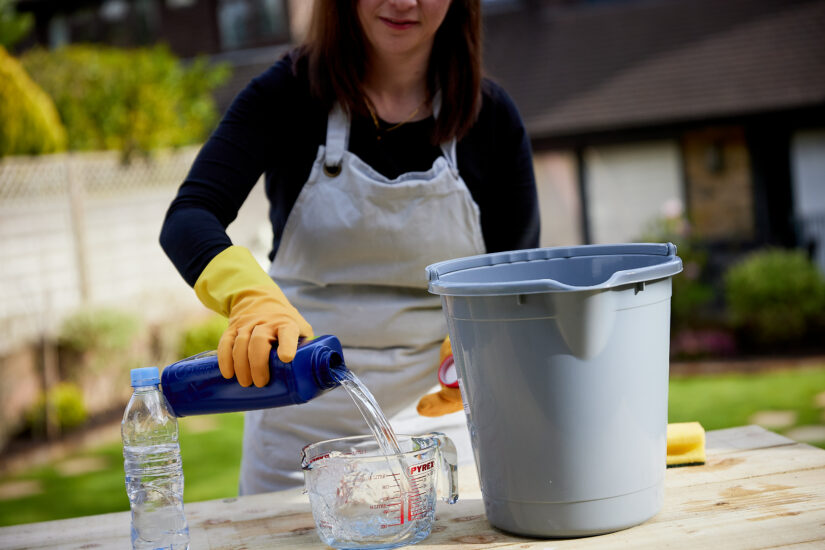
- Clean your mason jar – use a measuring jug, pour 5000ml of water and 250ml of Jeyes Fluid into a bucket. Jeyes heritage tin has been replaced, so look out for its new recyclable plastic bottle with an updated formula as part of its commitment to help pave the way for a more sustainable future.
- Wear some rubber gloves for protection. Dip a cloth, sponge or stiff brush inside the solution and use it on the inside and outside of the mason jar. Then rinse the jar and allow it to completely dry.
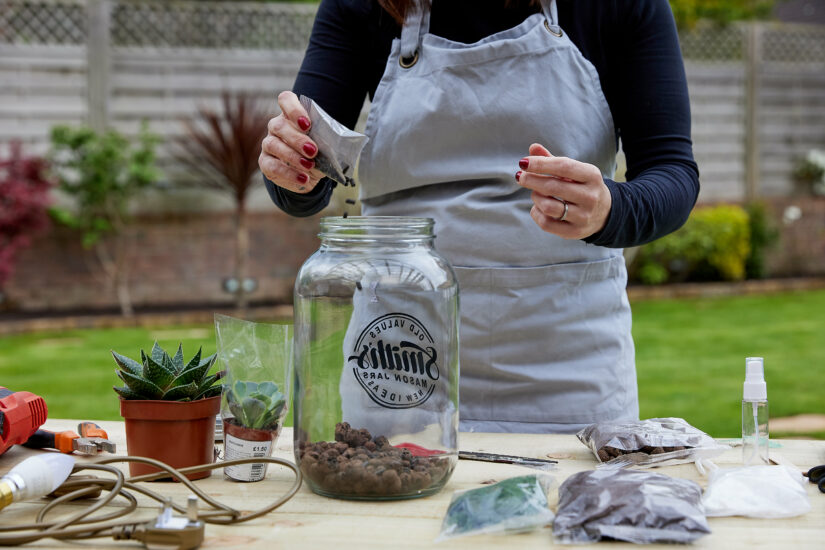
- Use the terrarium kit to fill your mason jar. Start with small stones and pebbles for the base for water drainage purposes.
- Grab a small handful of moss and place it on top of the pebbles.
- Layer three or four spoonfuls of soil on top of the moss to give your succulents a base to put their roots into.
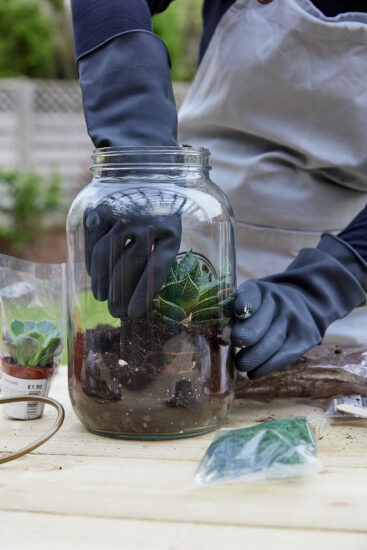
- Create a shallow hole in the soil where you will place your succulent.
- Place your succulent in the hole you made and cover the exposed roots with the soil.
- Add some pebbles to cover the soil, and then anything else you want in order to personalise your terrarium.
- Use the plastic tweezers in the kit to arrange your decorations and plants.
*The kit comes with a plastic spray bottle which we recommend using once a month on the terrarium to keep it fresh.
Creating the lamp
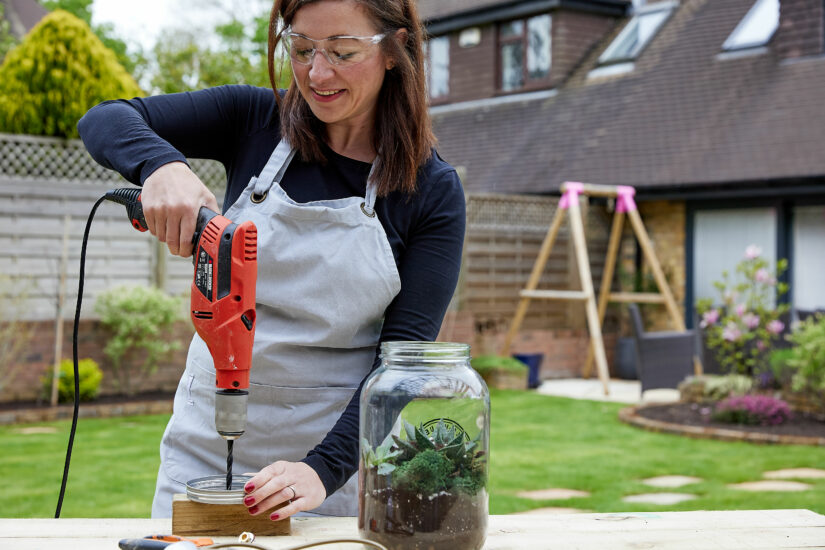
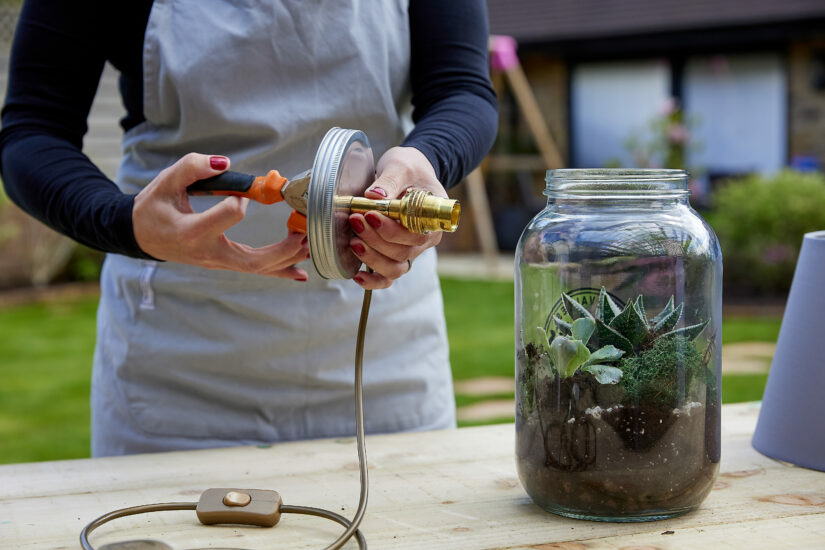
- Drill a hole in the centre of the metal lid of the mason jar ready to attach the lampshade.
- Follow the instructions that accompany the lamp kit to construct it. (We used the jar lamp wiring kit for table lamps KIT29 as the plug already comes wired which makes it easier for amateur DIY-ers). For support you can also find guides on YouTube.
*Ensure you do not have the kit plugged in when doing this step and keep away from water. - Add the bulb
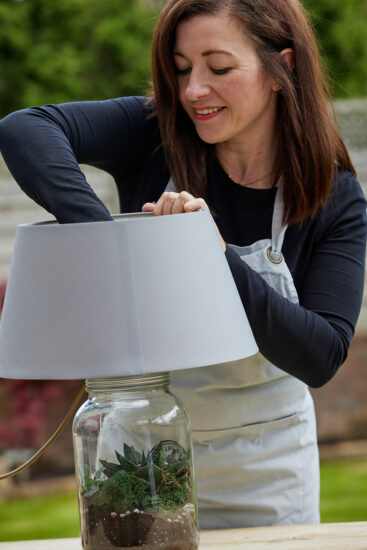
- Add a lampshade design of your choice
Looking to do more than simply upcycle old tins? There’s more great craft content from “The People’s Friend”, click here.
For more Creative Spaces ideas, please visit the Jeyes Fluid website.
